
If you have allergy to dust, do not attempt the below steps
Nowadays, as our world depends more on technology, you may wanna take that laptop sitting in the shelf and make a bit more powerful but you are scared that you’ll break it when disassembling. After reading this post, you’ll be able to rebuild a 7,8,9 or even 10 year old laptop and make it usable for online classes, web-browsing, and light gaming. To do this you’ll need some tools but those tools are not very expensive. First of all you, you will need a screwdriver set or just a single screw driver and I will link the screwdriver set that I use here, I have wrriten a review to this screwdriver on this website, so if you want to look at a detailed review before buying it then go here (not sponsored at all)
After getting a suitable screwdriver set or single screwdriver, you will have to look at the way you want to make your laptop faster. The easiest ways that I know are to apply thermal paste, clean fan/fans, or upgrade the RAM. Out of those three the fan cleaning method is free while to apply thermal paste, you need thermal paste and to upgrade RAM, you need a RAM stick which is expensive.
We will only focus on the fan cleaning part here becuase if I do all of the things I mentioned above, this post will be more of a book. So this is a 3 part series.
1. Fan Cleaning
I am going to demonstrate how to clean a fan on a Lenovo IdeaPad Z570 which is about 8 years old so it is a pretty good example.
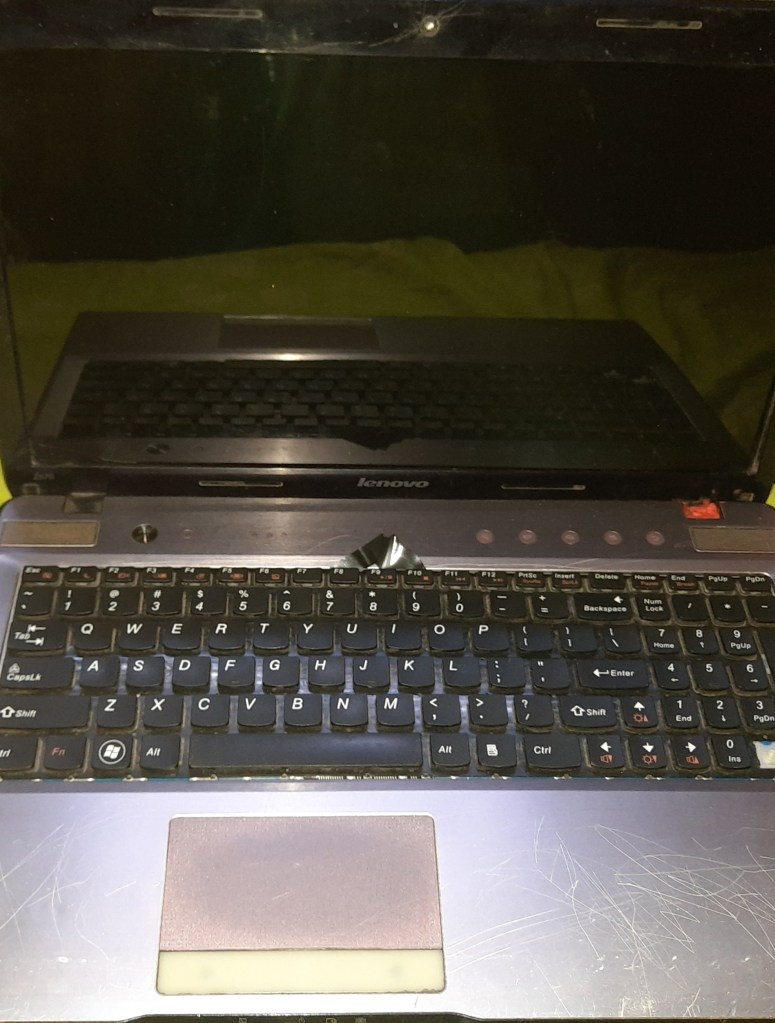
Age – 7
Does it work? – Yes
Problems – Fan does not spin, thermal throttling
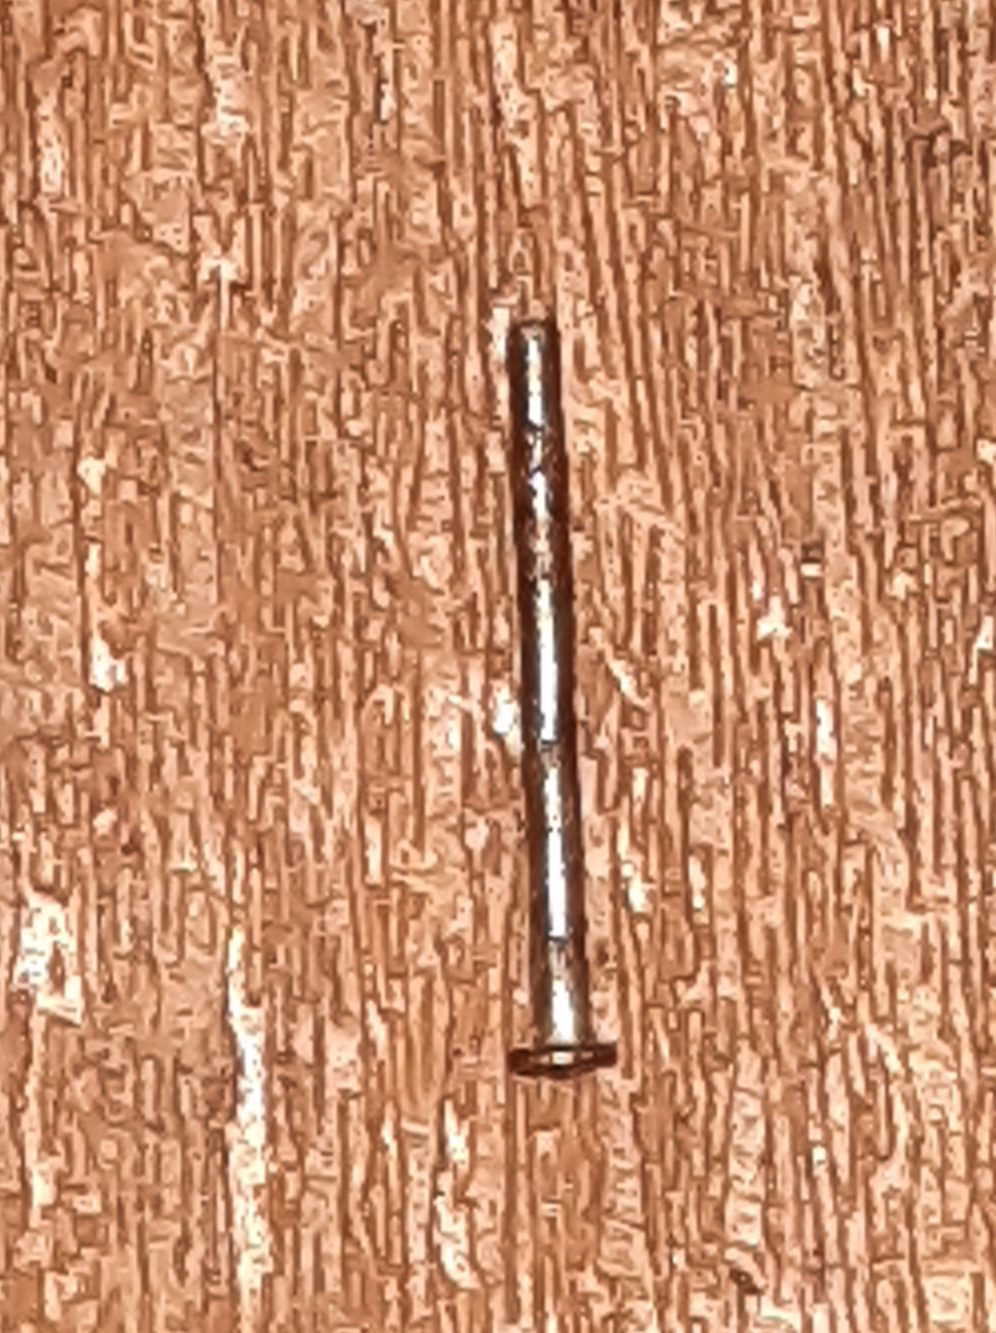
Let’s start by removing the back screws then remove the screws that hold the entire cooling system in place as shown above
Remove the little screws that hold the fan casing in place and just a warning here that if you are going to do this your thermal paste will get air gaps in it which can cause severe overheating so if you don’t want to take risk then replace thermal paste as well. I’ll show how to replace thermal paste in pt.2 of this post. Open the fan casing by unscrewing the tiny little screws that hold the fan casing in place. After that, you will be subjected to incredible amounts of dust that you don’t have to breathe in. You can see my hands stop for a second or two after seeing and realizing that this is going to be a mess.
Here you can see me cleaning the fan with a green brush and you can use a toothbrush. There are a few stubborn pieces of Lenovo battery sticker (from where did that come from?) in the fan
In the above video, you can see me cleaning the part that faces outside. You can try to get your brush all the way into the little slots but this could be hard to do with a toothbrush.
Part 1 of this series is over and the part two will come out soon!
Bye!
Do this at your own risk

The issue has been fixed and I took a whopping 11 minutes for something that should have been finished in a minute
LikeLike
For everyone viewing this post, I know there is a repeated clip and I am fixing it right now and it will be fixed in a minute
LikeLike